In today’s fast-paced digital world, creating a passport size image online has never been easier. Whether you need a new passport, visa application photo, or a quick update for your ID, online tools provide a fast, convenient, and free solution. This article explains how to create a passport photo online with minimal effort, while ensuring your image meets all official requirements.
Why Create Your Passport Size Image Online?
Creating your passport photo online saves time and money by eliminating the need for professional photography services. Key benefits include:
- Accessibility: Use any device with internet access.
- Ease of Use: Intuitive online editors allow you to crop and adjust your image within minutes.
- Customization: Adjust dimensions, background colors, and even apply filters for clarity.
- Cost-Effective: Most tools are free or cost just a few dollars.
Step-by-Step Guide to Creating a Passport Size Photo
1. Choose the Right Online Tool
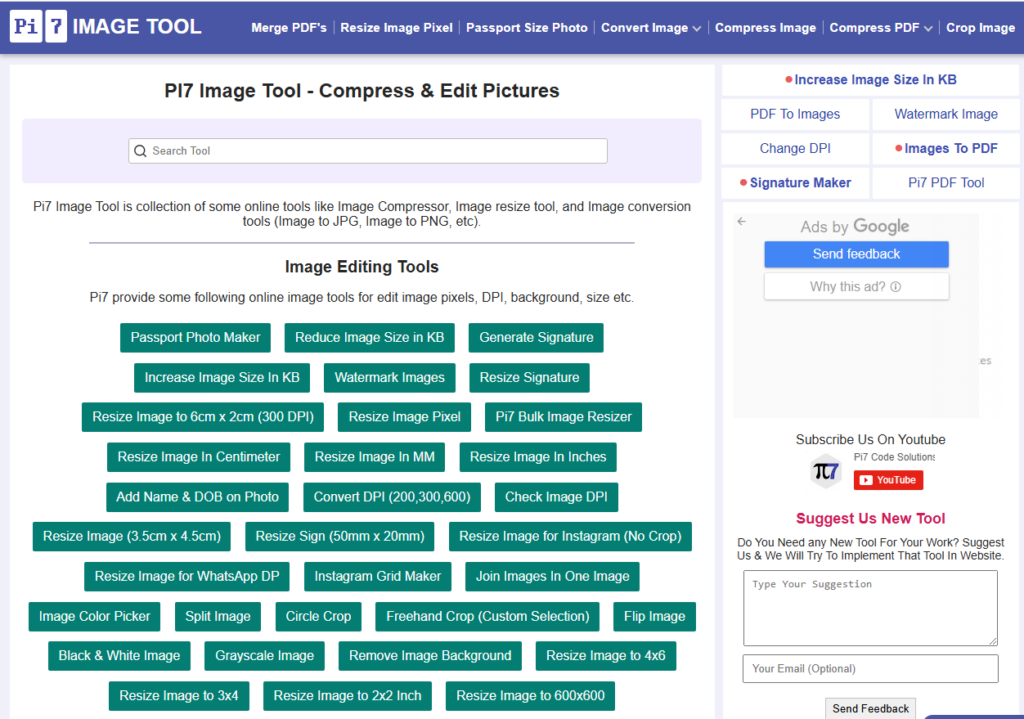
Start by selecting a reliable online passport photo maker. For example, websites like image.pi7.org offer user-friendly interfaces where you can upload your picture and customize it to the required dimensions. Look for tools that:
- Allow custom cropping and resizing.
- Provide guidelines based on international passport standards.
- Offer additional editing features like background removal and brightness adjustments.
2. Upload Your Image
Select a high-resolution photo that meets the following criteria:
- Plain background: A simple, light-colored background works best.
- Neutral expression: Maintain a neutral facial expression with eyes open.
- Proper lighting: Ensure your face is evenly lit, without shadows or glare.
Once you have your photo, upload it to the tool. Most online editors support common formats like JPEG and PNG.
3. Crop and Adjust the Image
Use the tool’s cropping function to trim your photo to the official passport size dimensions (usually 2×2 inches or as per your country’s guidelines). Make sure:
- Your face is centered.
- The head, including hair, fits within the frame.
- The background remains uniform.
Advanced tools may offer auto-detection of your face and suggest the perfect crop.
4. Fine-Tune Your Photo
After cropping, adjust other image settings such as brightness, contrast, and saturation if necessary. These tweaks can help ensure your image is clear and professional-looking. Some editors also allow you to change the background color to meet specific requirements.
5. Save and Download
Once you’re satisfied with your adjustments, preview the final image. Then, download your passport size photo in the desired format. Make sure to save a copy for future use or edits.
Best Practices and Tips
- Review Requirements: Different countries have varying requirements. Always double-check the specifications for your application.
- High-Resolution Images: Start with a high-quality image to avoid pixelation after cropping.
- Multiple Edits: Save versions of your image to experiment with different backgrounds or lighting adjustments.
- Security: Use reputable online tools to ensure your image data is secure.
- passport size photo online
- create passport photo online
- online passport image maker
- how to create passport size image online free
- best online tool for passport photo editing
- step-by-step guide for passport photo cropping
- free passport photo maker online for visa
passport photo, passport size image, online passport photo, image editing, free passport photo, digital passport image, visa photo requirements, photo cropping tool
Conclusion
Creating a passport size image online is a simple, efficient process that anyone can manage with the right tool. By following the above steps, you’ll be able to produce a professional-quality photo that meets official guidelines in minutes. Whether you’re preparing for a new passport or a visa application, online tools offer a fast, affordable solution to meet your needs.
Feel free to share your experience or ask questions in the comments below. Happy editing!